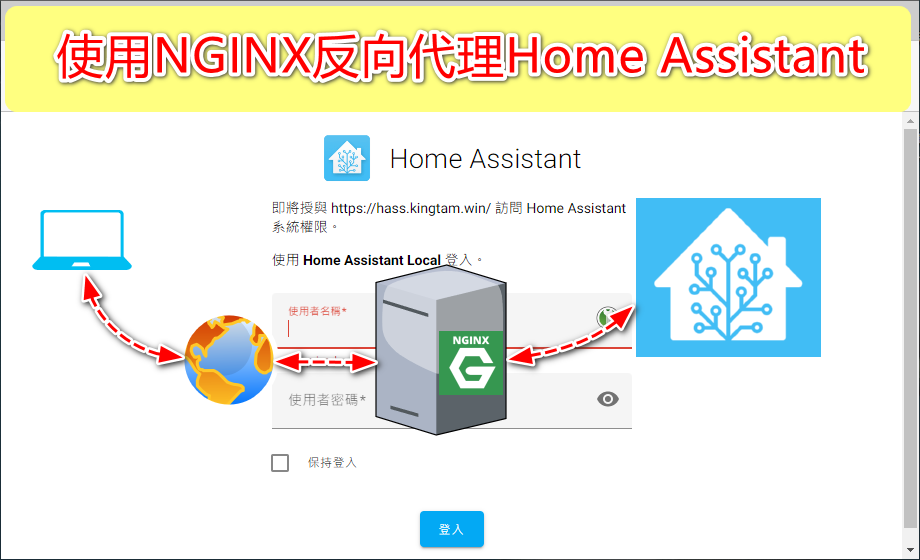
Home Assistant預設是限制本機(127.0.0.1)以外的端口轉發,所以需要在Home Assistant的配置文件添加代碼,信任(放行)來自代理IP的標頭(Header)。
在Home Assistant的configuration.yaml配置文件中編輯及添加以下代碼
http:
  # For extra security set this to only accept connections on localhost if NGINX is on the same machine
  # Uncommenting this will mean that you can only reach Home Assistant using the proxy, not directly via IP from other clients.
  # server_host: 127.0.0.1
  use_x_forwarded_for: true
  # You must set the trusted proxy IP address so that Home Assistant will properly accept connections
  # Set this to your NGINX machine IP, or localhost if hosted on the same machine.
  trusted_proxies: <NGINX IP address here, or 127.0.0.1 if hosted on the same machine>
##  WebSocket connection depending on the variable.$http_upgrade
map $http_upgrade $connection_upgrade {
    default upgrade;
    ''      close;
}

server {
    # Update this line to be your domain
    server_name example.com;

    # These shouldn't need to be changed
    listen [::]:80 default_server ipv6only=off;
    return 301 https://$host$request_uri;
}

server {
    # Update this line to be your domain
    server_name example.com;

    # Ensure these lines point to your SSL certificate and key
    ssl_certificate /etc/letsencrypt/live/example.com/fullchain.pem;
    ssl_certificate_key /etc/letsencrypt/live/example.com/privkey.pem;
    # Use these lines instead if you created a self-signed certificate
    # ssl_certificate /etc/nginx/ssl/cert.pem;
    # ssl_certificate_key /etc/nginx/ssl/key.pem;

    # Ensure this line points to your dhparams file
    # ssl_dhparam /etc/nginx/ssl/dhparams.pem;


    # These shouldn't need to be changed
    listen [::]:443 ssl default_server ipv6only=off; # if your nginx version is >= 1.9.5 you can also add the "http2" flag here
    add_header Strict-Transport-Security "max-age=31536000; includeSubdomains";
    # ssl on; # Uncomment if you are using nginx < 1.15.0
    ssl_protocols TLSv1.2;
    ssl_ciphers "EECDH+AESGCM:EDH+AESGCM:AES256+EECDH:AES256+EDH:!aNULL:!eNULL:!EXPORT:!DES:!MD5:!PSK:!RC4";
    ssl_prefer_server_ciphers on;
    ssl_session_cache shared:SSL:10m;

    proxy_buffering off;

    location / {
        proxy_pass http://HomeAssistant_IP:8123;
        proxy_set_header Host $host;
        proxy_redirect http:// https://;
        proxy_http_version 1.1;
        proxy_set_header X-Forwarded-For $proxy_add_x_forwarded_for;
        proxy_set_header Upgrade $http_upgrade;
        proxy_set_header Connection $connection_upgrade;
    }
}